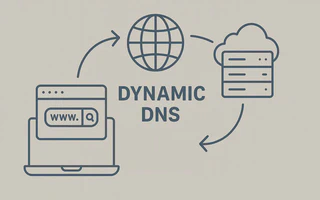
Dynamic DNS

I often need to access my computer remotely to transfer files, stream music, or manage programs.
For this, I need to know the IP address associated with my computer, but both NET and Speedy providers use a system of dynamic IPs.
With the IP constantly changing, determining the current address becomes a very laborious task, unless we use Dynamic DNS, a system that associates, almost in real-time, a known domain with the IP address of my computer.
At this link,
there is a list of several Dynamic DNS providers, the most famous and offering free plans are
DynDNS, No-IP, CDmon, and FreeDNS. I will use DynDNS to set up my Netgear 3500L router
in this tutorial.
Creating a free dynamic DNS host
Go to dyndns.com, create an account, and log in.
Under
Services, look forDynamic DNS Freeand then go toCreate Free Hostname. Choose an easy-to-remember hostname (I chosejbsilva.dyndns.org), fill in the IP field with your IP ($ curl ifconfig.me), and proceed to checkout.There you go! Your computer is now associated with the chosen hostname and can be accessed from any browser.
Configuring the router
Now we will configure the router to keep the service always updated with the current IP.
On the router’s page (http://10.0.0.1), click on the
Dynamic DNStab.Check the option
Use a Dynamic DNS Service.Fill in the fields with the information from the account you created earlier.
Service Provider: www.DynDNS.org
Hostname: jbsilva.dyndns.org (sem http)
User Name: seu usuário
Password: sua senha
Click on Apply and then on “Show status”, if something similar to the following screen appears, it means everything was configured correctly:
<jbsilva.dyndns.org/201.43.81.111> updated successfully at 07:12PM,07/28/2011